The short version
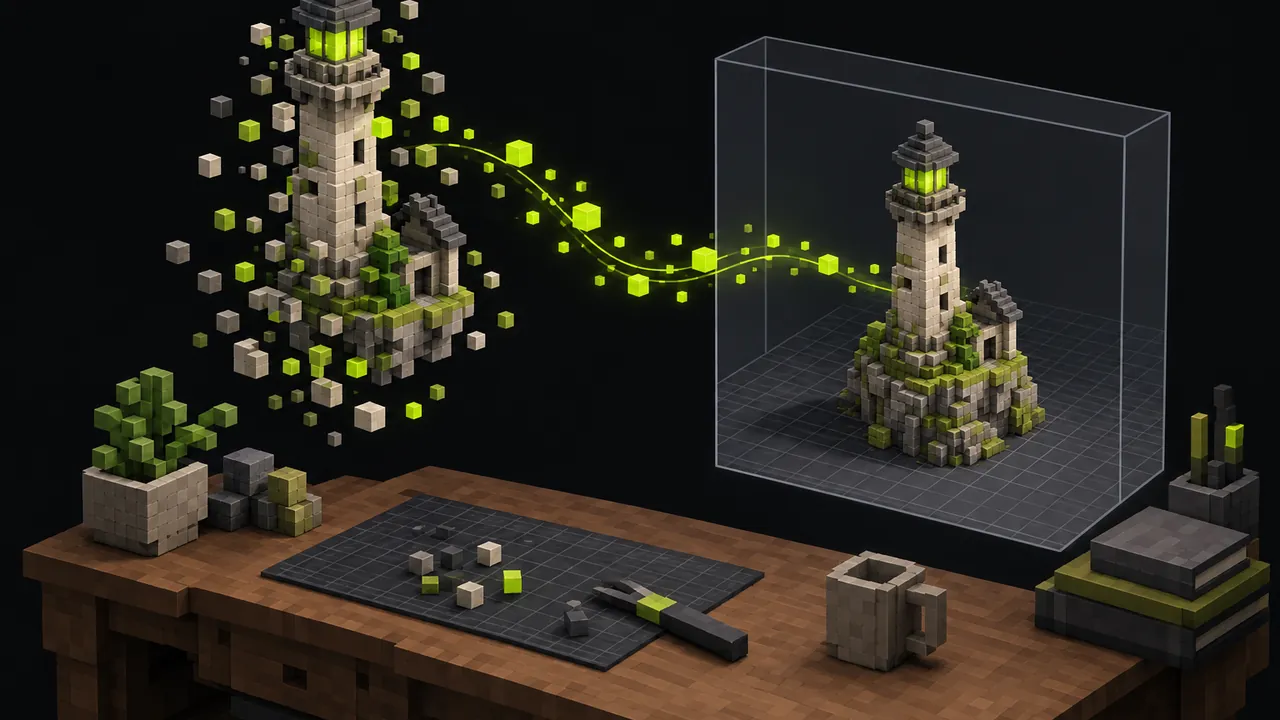
- One prop or a few props: export OBJ from MagicaVoxel and drop the .obj, .mtl and .png into your Godot project together.
- Lots of models or whole scenes: install a .vox importer plugin and import MagicaVoxel files directly.
- Rigging or animation: take the OBJ into Blender, then export glTF for Godot.
What MagicaVoxel can export
MagicaVoxel's export panel sits in the bottom right of the window. Pick a format, and the file lands in the export folder inside your MagicaVoxel directory. You can change that location with the dir_export line in config.txt if you want exports to go straight into a project folder.
The list includes OBJ, PLY, a handful of voxel formats such as QB and XRAW, and isometric or 2D sprite renders. For Godot, OBJ is the one that matters. Some newer builds add more mesh formats, so it's worth a look at the panel in the version you have.
| Route | Best for | Keeps colours | Needs a plugin | Animation |
|---|---|---|---|---|
| OBJ export | Single props, quick tests | Yes, via palette texture | No | No |
| .vox importer plugin | Many models, scenes, tile sets | Yes | Yes | Frame by frame, depending on plugin |
| Blender, then glTF | Rigged characters, custom pivots | Yes | No (Blender add-ons optional) | Yes |
Route 1: OBJ export
This is the route with the fewest moving parts, and it's where most people should start.
- In MagicaVoxel, open the export panel and choose obj. You get three files with the same name:
model.obj,model.mtlandmodel.png. - Copy all three into your Godot project, in the same folder. Don't rename one without renaming the others, because the .obj points to the .mtl and the .mtl points to the .png.
- Godot imports the OBJ automatically. Drag it into a 3D scene, or select it in the FileSystem dock and check the Import dock for options.
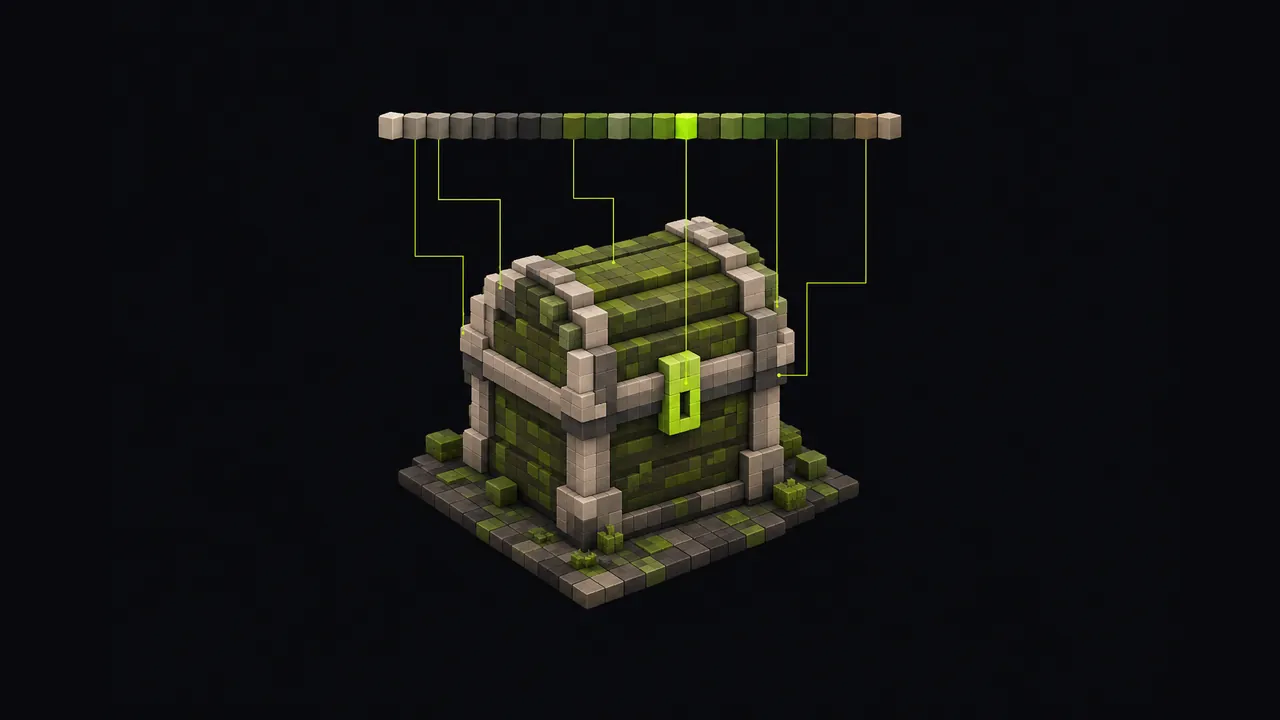
The .png is a thin strip containing your palette. Every face of the mesh is mapped to one pixel on it, which is how a single texture can colour the whole model. That's also why losing the .png turns everything white.
Three fixes you'll probably need
- Blurry or bleeding colours. Open the material and set the texture filter to Nearest. Linear filtering can soften edges between palette colours, especially on small models seen up close.
- The model is enormous. One voxel usually comes through as one Godot unit, and Godot treats a unit as a metre. A 32-voxel tree arrives 32 metres tall. Scale it on import or on the node, and pick one voxel size for your whole game so props line up.
- The origin is in the wrong place. If a model rotates around an odd point or floats above the floor, wrap it in a parent
Node3Dand offset the mesh inside it. That's quicker than re-exporting.
Adding collision
Select the MeshInstance3D and use the Mesh menu in the 3D toolbar to create a collision shape. For static scenery a trimesh shape is fine. For anything that moves, a simple box or convex shape is far cheaper for the physics engine than the exact voxel outline.
Route 2: import .vox files with a plugin
Once you have dozens of models, exporting each one by hand gets old. A .vox importer lets you save in MagicaVoxel and see the change in Godot straight away, with no export step in between.
Several community importers exist. The more complete ones can import a .vox file as a single mesh, as a full scene that keeps MagicaVoxel's object hierarchy, or as a MeshLibrary for Godot's GridMap, which is handy if you're building levels from voxel tiles. Some import each animation frame of a .vox file as a separate mesh.
The setup is the same for any editor plugin: install it through the AssetLib tab or by copying it into your project's addons folder, enable it under Project, Project Settings, Plugins, then restart the editor if asked. After that, .vox files in the FileSystem dock pick up the plugin's import options.
Two cautions. Plugins are maintained by volunteers, so check which Godot version each one lists before you rely on it. And older importers written for Godot 3 often need a material with vertex colours used as albedo, or the model renders grey. One maintained option is MagicaVoxel Importer with Extensions on the Godot Asset Store, which lists its tested Godot version on the page.
Route 3: through Blender to glTF
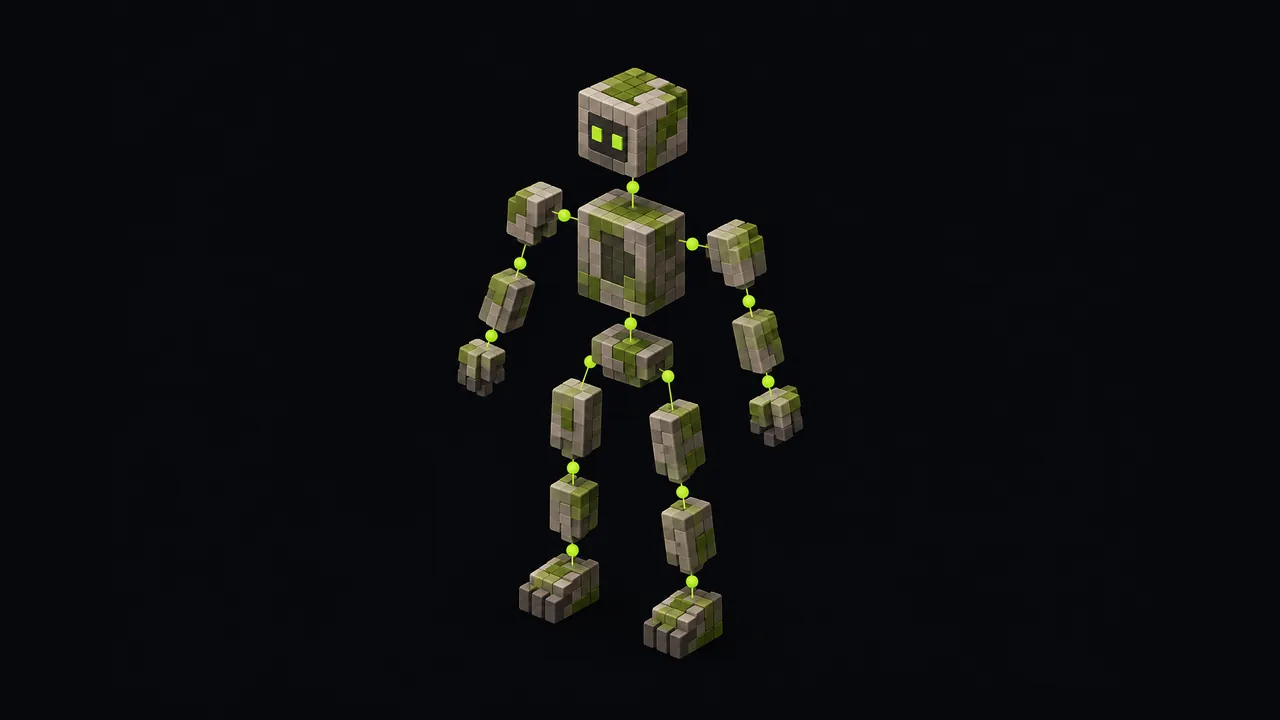
MagicaVoxel has no bones or skinning, so if you want a character with a proper rig, you'll need a detour. Import the OBJ into Blender, separate the body parts or add an armature, set the pivot points you want, then export as glTF.
glTF is the format Godot's documentation recommends for 3D scenes, and it carries materials, hierarchies and animations in one file. Blender also lets you clean up the mesh, merge parts or bake the palette into a different texture layout if your art pipeline needs it.
A common pattern is to model each limb as a separate object in MagicaVoxel, export once, and then do all rigging in Blender. Keeping limbs separate from the start saves you cutting a merged mesh apart later.
Keeping voxel art looking right in Godot
- Use one voxel scale everywhere. Mixed scales are the fastest way to make a voxel game look messy.
- Share one palette. If every model uses the same MagicaVoxel palette, they can share one texture and one material, which is tidier and easier on draw calls.
- Light it gently. Voxel art reads best with soft shadows and some ambient occlusion. Godot's SSAO and a slightly warm directional light go a long way.
- Watch the triangle count on big models. Large, detailed voxel models can produce more geometry than you'd expect. Split them into chunks or use simpler versions for distant objects.
Where to go next
If you're still choosing a modelling tool, our comparison of free voxel editors covers MagicaVoxel, Goxel and others. For the difference between voxel art and voxel games, which matters once you start thinking about destruction and terrain, see what a voxel game is. And if you want to see MagicaVoxel-style assets pushed to the limit, our look at how Teardown's destruction works is a good read.
Frequently asked questions
Why is my MagicaVoxel model white in Godot?
The OBJ export writes three files: the .obj mesh, a .mtl material file and a small .png palette texture. If the .mtl or .png is missing from your Godot project, or was renamed, the mesh has no colours. Copy all three into the same folder.
Can Godot open .vox files directly?
Not out of the box. Godot imports OBJ and glTF natively, but .vox needs an importer plugin from the Godot Asset Library or Asset Store.
Which Godot version should I use?
Godot 4.7.2 is the current stable release at the time of writing. The routes in this guide work across Godot 4, but plugin compatibility varies, so check each plugin's listed version.
Is MagicaVoxel free for commercial games?
MagicaVoxel is free to use. The models you make are your own work, so check the licence of any third-party palettes or sample models you start from.
Facts in this article were checked against developer and store sources on 10 October 2026. Prices, versions and dates change, so confirm on the official page before you buy.